
How this article was made
| Mode | “Write an article (with sections)” |
|---|---|
| AI model | NVIDIA Nemotron 3.5 Super (free, via NVIDIA) |
| Topic and keywords | Birdwatching for Beginners: Gear, Skills and Where to Start · birdwatching for beginners, binoculars, bird identification, field guide |
| Style | warm, practical and specific, for adults who are curious about birds but know nothing yet. No brand names |
| Images | ClipCloud, style “photorealistic-1” |
| Comments | 3 comments requested |
| Length | 11,840 characters (the settings asked for 11,000 to 13,000) |
Birdwatching is one of the easiest ways to slow down and notice what is happening outside your door. You do not need a biology degree or expensive gear to start: curiosity and a few quiet minutes are enough. It sharpens your observation, lowers stress, and connects you to the seasons where you live.
This guide covers the practical basics: choosing binoculars, using a field guide, and identifying birds by shape, color, and behavior. You will also learn where to look nearby, what to pack, how to keep a simple log, and how to find local birding groups.
Choosing Your First Binoculars
Your first pair does not need to be expensive. Look for a specification like 8×42. The first number is magnification, and the second is the width of the front lenses in millimeters. Eight-power magnification is easy to hold steady by hand, and 42-millimeter lenses gather plenty of light for early mornings and shaded woods.
| Spec | Meaning | For a beginner |
|---|---|---|
| 8×42 | Magnification x lens width | Best all-around choice |
| 10×42 | Closer view, narrower field | Harder to hold steady |
| Close focus | Nearest clear distance | Aim for under 10 feet |
Avoid anything above 10x magnification unless you use a tripod. Higher power magnifies hand shake, and the field of view gets so narrow that finding a small bird feels like looking through a straw. Weight matters too. If a pair feels heavy in the store, it will feel like a burden on the trail.
If you wear glasses, check eye relief. This is how far your eyes can be from the eyepiece and still see the full image. Look for at least 15 millimeters. Waterproofing and fog-proofing are worth it for dew, mist, or sudden rain.
Expect to spend about $100-250 for a reliable beginner pair. Cheaper models often have dim images and loose focus wheels. If possible, try a few pairs before buying. Focus on a distant leaf, lower the binoculars, then see how quickly you can find it again. The right pair should disappear into your hands so you can watch the birds.
How to Use a Field Guide for Bird Identification
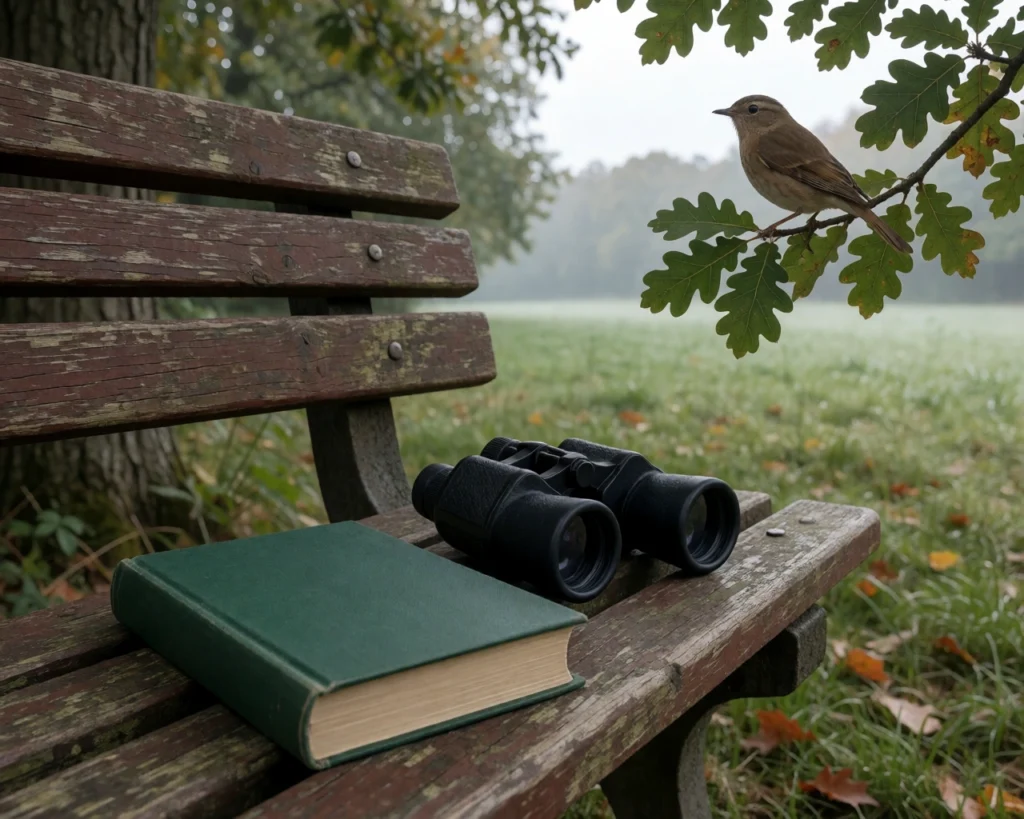
A field guide shows birds with illustrations or photos, range maps, and short descriptions. Flip through it once at home so you know how it is organized. Many guides follow taxonomic order, while others group by color or habitat. The second style often feels friendlier when you are just starting.
When you spot a bird, do not open the guide immediately and flip until something looks familiar. Watch for thirty seconds and note size, shape, behavior, and habitat. Is it chunky like a sparrow or slender like a warbler? Is it on the ground, high in the canopy, or clinging to a trunk?
Next, turn to the section that matches the bird’s shape or habitat. Check the range map to rule out species that do not occur in your area at that time of year. A bird may look right but be hundreds of miles outside its normal range.
| Field mark | What to look for |
|---|---|
| Beak | Short and conical, long and pointed, or hooked |
| Wings | Bars, spots, or solid color; rounded or pointed tips |
| Head | Eye rings, caps, stripes, or crests |
| Tail | Length, notching, and whether it is flicked or still |
Compare the bird against two or three similar species instead of settling on the first match. Read the short description next to each illustration, not just the picture, because plumage changes with age, sex, and season. Many guides use arrows to highlight key markings.
If you are still unsure, note the bird as unidentified and check again another day. The guide will make more sense after you have seen a few species in person. Keep it handy in your pocket or pack.
Basic Identification Skills
Start by watching the bird, not naming it. Notice its size compared to something familiar, like a sparrow, a robin, or a crow. Look at the shape of its bill, the length of its tail, and how it holds its body. A thick conical bill suggests a seed eater, while a thin pointed bill often belongs to an insect catcher.
Color helps, but light changes how feathers look. Watch for bold markings instead: an eye ring, wing bars, a tail flash, or a colored patch on the head. Note where the color sits, not just that it exists.
- Size and shape: small and plump, slender and upright, or long-tailed
- Bill shape: short and thick, long and thin, or slightly hooked
- Movement: hops on the ground, clings to bark, or darts between branches
- Habitat: open lawn, dense thicket, treetops, or water’s edge
- Voice: a sharp chip, a melodic warble, or a harsh scold
Pick one common bird in your yard or park and study it until you recognize it without thinking. Once that bird feels like an old friend, differences in others will stand out more clearly. A white-throated sparrow looks plain at first, but its head stripes and yellow spot near the bill make it unmistakable after a few sightings.
You will misidentify birds at first, and that is part of learning. The goal is to pay attention, not to collect perfect answers right away.
Where to Start Birdwatching in Your Area
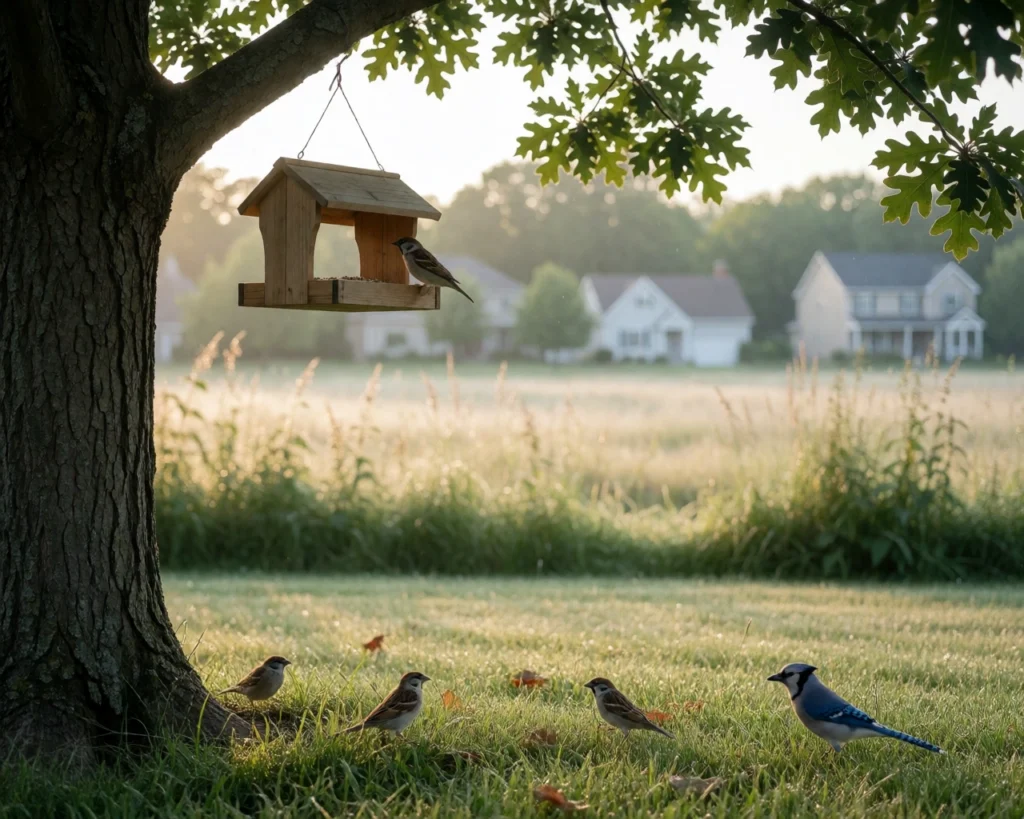
Start close to home. Your backyard, a balcony with a feeder, or a quiet street with mature trees can hold more birds than you expect. Watch for a week and note which species show up at dawn and dusk.
Next, expand to public green spaces. City parks, riverbanks, and small nature preserves are ideal because they offer water, cover, and food in one place. Look for edges where two habitats meet, such as a treeline bordering a meadow or reeds along a pond. These transition zones often attract the greatest variety.
| Place to try | What to look for | Best time |
|---|---|---|
| Backyard or balcony | Feeders, fruiting shrubs, birdbaths | Early morning |
| City park with water | Ducks, herons, swallows over the surface | Late afternoon |
| Wooded trail edge | Warblers, woodpeckers, sparrows in brush | Early to mid-morning |
| Open field or marsh | Blackbirds, hawks, wetland birds | Early morning or dusk |
Visit the same spot repeatedly. Birds keep daily routines, and you will start to recognize regulars and newcomers. If you want to go farther, search for public birding hotspots on free online maps or ask at a local library or nature center. Begin with easy, flat walks so you can focus on the birds rather than your footing.
Reading Bird Behavior and Habitat Clues
Birds reveal themselves through behavior as much as through color and shape. A bird flicking its tail on a fence post may be sending a signal. One that hitches headfirst down a tree trunk is working bark for insects. Notice how it moves: hopping across the lawn, walking with a steady stride, or flitting from twig to twig. Flight style also separates groups. Some species fly in bouncy waves, while others soar on flat wings or beat the air in quick bursts.
Habitat narrows the possibilities before you see a bird. A muddy shoreline suggests waders probing for invertebrates. Brambles and thick shrubs hide skulking sparrows and wrens. Ponds and rivers draw ducks, herons, and kingfishers. Think in layers: canopy, understory, shrub level, and ground each hold different species. A sharp chip from deep brush often means a bird is using that cover for safety.
Sound is a behavior clue too. A song repeated from the same perch often means a bird is defending its territory. When several species call sharply at once, they may be mobbing a predator such as a hawk or cat. Pause and watch where the birds are looking; their attention points you toward the action.
Give birds space. Movement and staring make them wary, so let them settle before expecting natural behavior. The more you watch what birds do in their own environments, the faster you will recognize them by habit alone, even in poor light or from a brief glimpse.
What to Wear and Pack for Your First Outing
Dress for comfort and for blending into the background. Birds notice bright colors and sudden movement, so choose muted greens, browns, or grays. Avoid rustling nylon jackets, shiny fabrics, and squeaky shoes. Wear layers you can add or remove as the temperature shifts, and pick sturdy walking shoes or boots that handle damp grass and uneven trails. Wool or synthetic socks prevent blisters better than cotton. A wide-brimmed hat keeps sun out of your eyes, which makes spotting birds much easier. Skip strong perfume or scented lotion, which can attract biting insects.
Pack light but bring the essentials. A small daypack is enough for a morning walk, and carrying less means you can move quietly and stop quickly when you hear a call.
- Reusable water bottle
- Light snack such as trail mix or fruit
- Small notebook and pencil
- Binoculars with a comfortable strap
- Sunscreen and lip balm
- Insect repellent
- Packable rain jacket
- Small plastic bag for trash
- Basic adhesive bandages
Check the forecast before you leave. If rain is likely, a waterproof layer beats an umbrella, which is hard to manage while holding binoculars. Break in new shoes at home so blisters do not cut your outing short. Wear something you do not mind getting a little dirty. You will likely crouch or kneel to get a better view, and birds do not care how worn your clothes look. A folding sit pad or even a piece of cardboard keeps you dry on wet benches or logs.
Keeping a Simple Birdwatching Log
Start with a small notebook you can carry in your pocket, or use the notes app on your phone. The goal is not a perfect scientific record. It is a memory aid that helps you notice patterns over time.
Write down the date, time, and location for each outing. Add the weather and a sentence about what the birds were doing. If you can name the species, list it. If not, describe size, color, and where you saw it. You can look it up later. A quick sketch of the bill shape or posture also helps.
A simple entry might look like this:
| Date | Place | Birds seen | Notes |
|---|---|---|---|
| May 3 | Riverside park | Cardinal, two chickadees | Cardinal singing from a high branch. Chickadees at the feeder. |
| May 5 | Backyard | Unknown small brown bird | Hopping under the shrubs. Tail cocked up. |
Include “heard only” birds too. A song you cannot place is still worth noting. Over the months, you will start to recognize which species visit your area in spring and which stay through winter. You may also notice that certain birds appear only after rain or near water at dusk.
There is no right way to keep this log. Some people prefer a dedicated notebook with sections for each month. Others type quick entries on a phone in the field. Choose whatever feels easiest, because the best log is the one you actually keep.
Do not let the log interrupt the watching. Jot down key details in the moment, then fill in the rest when you get home. Reviewing your entries after a month will show how much you have already learned, and it will make the next outing easier because you will know what to expect.
Connecting with Local Birdwatching Groups
Joining a local birdwatching group is one of the fastest ways to move from guessing to knowing. Experienced birders are usually glad to point out field marks you would miss on your own, and a group outing turns a solitary walk into a shared lesson. You do not need to know a single species to show up. Most clubs welcome absolute beginners, and some even bring extra binoculars to lend.
Start looking close to home. Check the bulletin board at your public library, the events calendar at a nearby nature center, or the website of your city parks department. Many regions have a birding society or a natural history group that leads monthly walks. If you prefer to look online, search for a local birding group on social media or a neighborhood email list. A simple search for your town plus “bird walk” often turns up a regular meetup.
On your first outing, arrive a few minutes early and introduce yourself to the leader. Say you are new. Bring water, and leave your dog at home unless the group allows pets. Stay on the path, keep your voice low, and follow the leader’s pace. If someone spots a bird, move slowly and avoid sudden arm movements, which can startle it.
Group birding also teaches habits that stick. You will learn where to stand for the best light, how to listen before you look, and why patience beats chasing. After a few outings, you will start to recognize the other regulars and the local birds, which makes every walk feel a little more like coming home.
This text was generated by ClipAI and the pictures by ClipCloud, to show how the programs work. Pages without this note are written by people.
 English
 RU_RU
Mira ·
Tried the thirty-second rule on a sparrow in my backyard and noticed the yellow spot near its bill before I even opened the guide. White-throated sparrow! Much easier than flipping pages first.
Leo ·
Solid overview, but I'd push back on the $100-250 figure for binoculars. I started with a $65 pair of 8x42s and they were bright enough for dawn warblers. Also, there is nothing on identification apps; a free sound ID app helped me confirm a chickadee by ear before I trusted my eyes. Worth adding for beginners on a budget.
Sam ·
I started watching chickadees at my balcony feeder last month using an 8x42 pair. The article says to watch for thirty seconds before opening a field guide, but I usually flip right away. Does waiting really help you identify more birds?