How to use ClipAI in conjunction with local AI (LLM)?".
It is almost always best to use completely free quality AIs (e.g. Google Gemini) in ClipAI. To use them you don't need to perform the actions specified in these instructions.
1. PC with a video card with at least 8gb of video memory, or an Apple device on an m-processor (like the m1).
2. Having knowledge of an experienced PC user.
In this article, let's break it down, How to connect local AIs to automatic writing of articles in ClipAI. Let's consider the work of ClipAI with the program "LM Studio". If you wish, you can use almost any other program: the instructions will be approximately the same.
Customizing LM Studio
1. Download LM Studio from the official website. This program is completely free of charge.
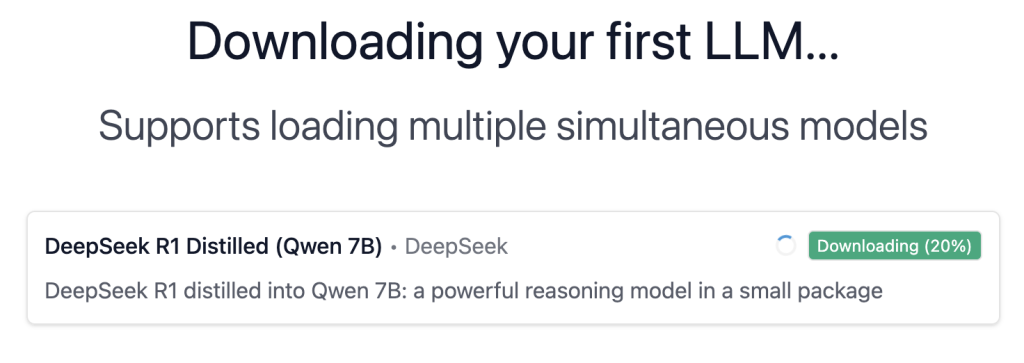
2. Go through the installation and the first launch of LM Studio. During the first launch you will be prompted to download the AI model:
Most likely, you will be offered one of the simplest models. However, we recommend downloading it: it will be easier to customize the operation first, and then change the model to the one you need.
3. Select the downloaded model to use by clicking on the top "Select a model to load"and then selecting the desired AI:
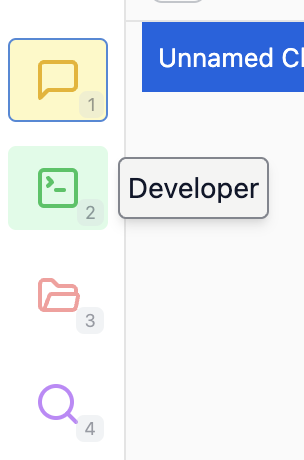
4. Click the "Developer" button on the left side of the LM Studio window and then click "Start server":


Customizing the ClipAI
1. Go to the input settings of the ClipAI (right-click on the line with the script -> "Settings"). Then click the Options tab.
2. Enter the "Secret key" - any key (e.g. "ClipAI"). Also select the model "GPT (own model)":

3. Under "ChatGPT" below, enter:
- "Own model" - name of the model in LM Studio. You can see it either at the top of the program window or in the chat responses with AI. Remember, there should be no spaces in the model name. For example, in this case you need to enter "deepseek-r1-distill-qwen-7b":


- "Custom API Endpoint" is the address specified on the "Developer" -> "Reachable at" page of LM Studio, to which you need to add "/v1/chat/completions". Most likely, you will have "http://127.0.0.1:1234" specified on this page, which means you need to specify "http://127.0.0.1:1234/v1/chat/completions" in the ClipAI settings:

As a result, the settings in the "ChatGPT" section of the ClipAI program should look something like this:

Installing AI models in LM Studio
To download and install the AI model, all you need to do is click the "Discover" button on the left side of the LM Studio window:

After that, a window will open to search for and install various neural networks. Usually, the more it "weighs" and the newer it is, the better the quality of the articles. But don't forget that the size of the neural network should not exceed the size of your VRAM (video card memory) or, in the case of using it on Mac computers with m processors (e.g. macbook on m1), your free RAM (RAM).
Don't forget to change the value of the "Own Model" parameter in the "Parameters" tab of the ClipAI input settings after installing the new AI!
Most AI is optimized to work in English. We recommend using:
For Russian-language articles:
- YandexGPT (e.g., yandexgpt-5-lite) - A good neural network for short articles.
- Phi (e.g., phi-4) - is suitable for many languages, including Russian.
- Magnum (e.g., magnum-v4-12b) - pretty well suited for a variety of tasks.
- Mistral (e.g., mistral-nemo-instruct) - is very good at writing even long articles.
- Qwen (e.g., qwen2.5-7b-instruct-1m) - often can't write a long article, but is quite good at writing short ones, usually without making mistakes in HTML markup.
For articles in Chinese:
DeepSeek (e.g., deepseek-r1-distill-qwen-32b). Produces a process of "thinking" before writing an article, which although it will not be added to the final text, but significantly affects the improvement of its quality. Writes even very long articles. We would like to add it to the list of recommended for Russian, but this AI often embeds Chinese characters or English words into the text.

